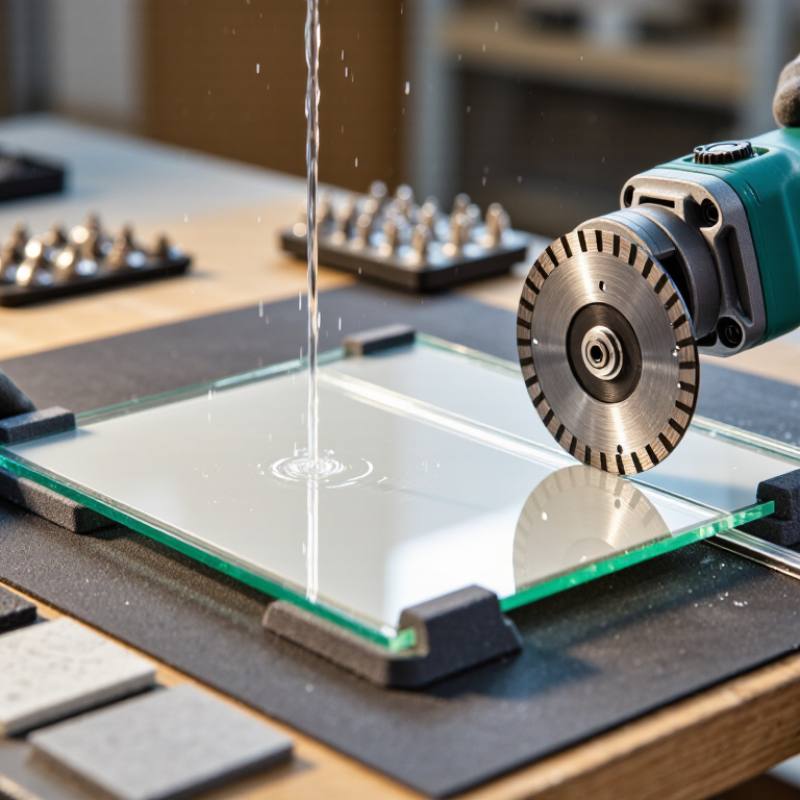
| 1 |
Material assessment |
Identify the material, thickness, existing flaws, grain direction, glaze, and supported cutting orientation before machining. |
Use a clean, dry surface; mark defects and keep the intended cut at least 10–20 mm away from visible chips or edge damage where practical. |
Glass, ceramic, porcelain, stone, ferrite, and sintered materials |
Prevents hidden defects and weak areas from becoming crack origins. |
Reject or reposition pieces with long visible cracks, loose inclusions, or unstable edges. |
| 2 |
Workpiece support |
Support the material continuously on both sides of the cutting path using a flat, vibration-resistant bed. |
Keep unsupported overhang as short as possible; use soft, clean pads where they will not interfere with the cut. |
Thin glass, ceramic tile, stone slabs, and brittle plates |
Reduces bending stress, vibration, and breakout at the exit side. |
Confirm that the workpiece does not rock when light hand pressure is applied. |
| 3 |
Tool selection |
Select a sharp, properly dressed diamond or carbide tool designed for the specific material and cut type. |
Use a continuous-rim diamond blade for glass and fine ceramics; use a suitable segmented or turbo rim only when the material and machine allow it. |
Glass, porcelain, ceramic, granite, marble, and engineered stone |
A sharp, compatible tool lowers cutting force and reduces localized chipping. |
Replace or dress tools showing glazing, excessive runout, damaged segments, or uneven wear. |
| 4 |
Cut-line preparation |
Apply a clearly visible line and use masking tape or a sacrificial surface when appropriate to stabilize the surface edge. |
Keep the blade aligned with the marked path; avoid forcing the tool sideways during entry. |
Glazed tile, glass, laminate-backed brittle sheets, and polished stone |
Limits surface vibration and helps reduce small edge chips. |
Check that the line is visible from the operator position and does not obstruct the cut. |
| 5 |
Cooling and lubrication |
Use a steady coolant flow when the tool and material permit wet cutting; keep the cutting zone free of abrasive sludge. |
Maintain continuous flow to the contact point; avoid sudden hot-to-cold thermal shock. |
Stone, porcelain, ceramic, glass, and other heat-sensitive brittle materials |
Controls heat buildup and removes particles that can increase friction and scratching. |
Stop if coolant flow is interrupted or if discoloration, smoke, or excessive heat appears. |
| 6 |
Initial entry |
Enter gradually with a shallow approach rather than dropping the tool aggressively into the surface. |
Use a reduced entry feed for the first 10–20 mm, then increase smoothly to the controlled cutting feed. |
Glass, porcelain, ceramic tile, and thin stone |
Reduces impact loading and prevents entry cracks from spreading into the part. |
Inspect the entry point for star cracks, deep chips, or delamination. |
| 7 |
Controlled cutting |
Maintain a straight feed, steady pressure, and constant tool engagement; never twist or force the workpiece. |
For many thin tile and stone applications, begin around 0.5–2.0 m/min and optimize through test cuts. |
Ceramic, porcelain, marble, granite, and engineered stone |
Prevents sudden force changes that can produce lateral cracks and edge breakout. |
Watch for vibration, rising motor load, irregular sound, or a widening kerf. |
| 8 |
Exit and final separation |
Reduce feed pressure before the tool exits and support the offcut so it cannot drop or lever against the remaining material. |
Use a slower final 10–20 mm of travel; keep both sections supported until the cut is complete. |
Thin glass, tile, stone sheets, and brittle composite panels |
Minimizes exit breakout and bending stress at the last point of contact. |
Examine both the entry and exit edges under bright, angled light. |
| 9 |
Edge finishing |
Remove sharp micro-chips with a compatible fine abrasive or polishing step rather than applying impact force. |
Use light, consistent passes; keep the abrasive moving and avoid overheating the edge. |
Glass, ceramic, porcelain, marble, and granite |
Removes stress concentrators that may develop into cracks during handling or service. |
Confirm that the edge is smooth, stable, and free from cracks extending into the body. |
| 10 |
Final quality control |
Clean the part and inspect both surfaces, the entire cut line, and all four ends under suitable lighting. |
Use magnification when required; record crack length, chip size, and defect location for process adjustment. |
All brittle materials |
Catches hairline cracks before assembly, transportation, or further processing. |
Separate parts with through-cracks, unstable chips, or defects exceeding the applicable quality limit. |
 CXO Laser